ps2
Infinity Keyboard: Building My Own Mechanical Keyboard
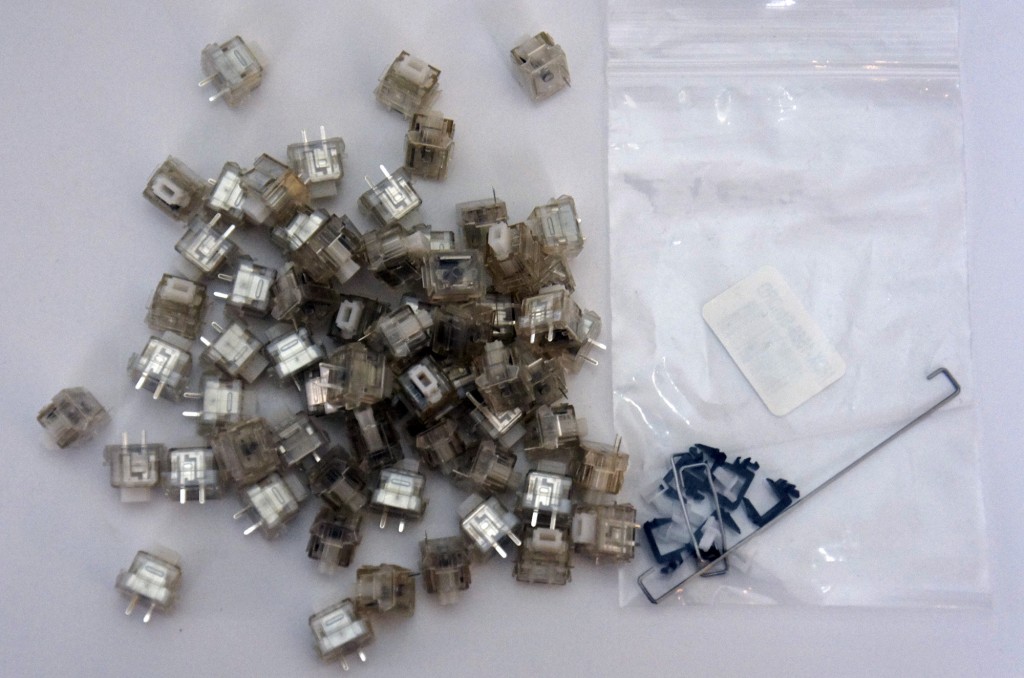
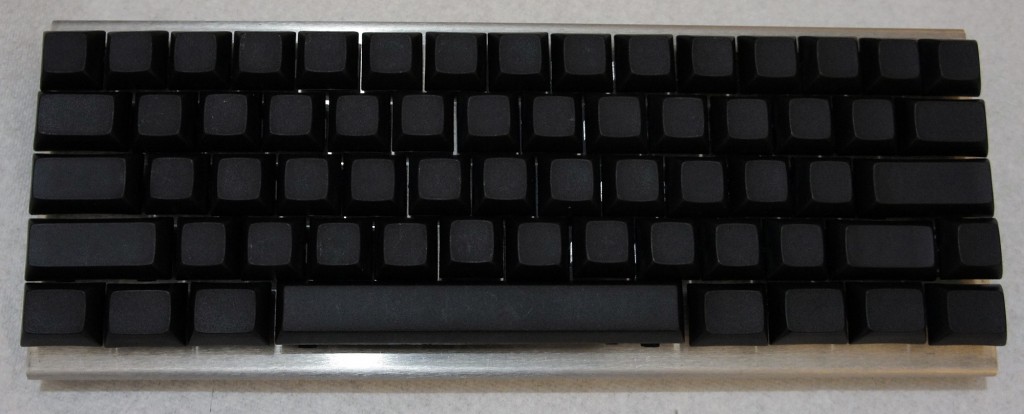
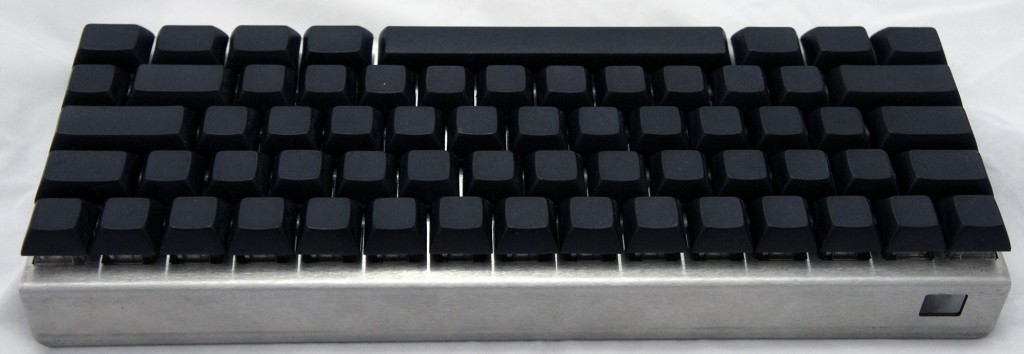
I’ve written a lot about mechanical keyboards in the past, but beyond user experience, I’ve never really had any other type of interaction with a keyboard. When I saw the Infinity Keyboard Kit for sale on Massdrop, I was enticed by the prospect of a keyboard with aspects that I could customize, but more importantly, the opportunity to build my own keyboard.
When I first purchased the kit, it was somewhat intimidating. As a software developer, any task remotely related to electrical engineering is a strange and scary one, but I figured I’d give it a shot anyways.
Choosing the Keyboard
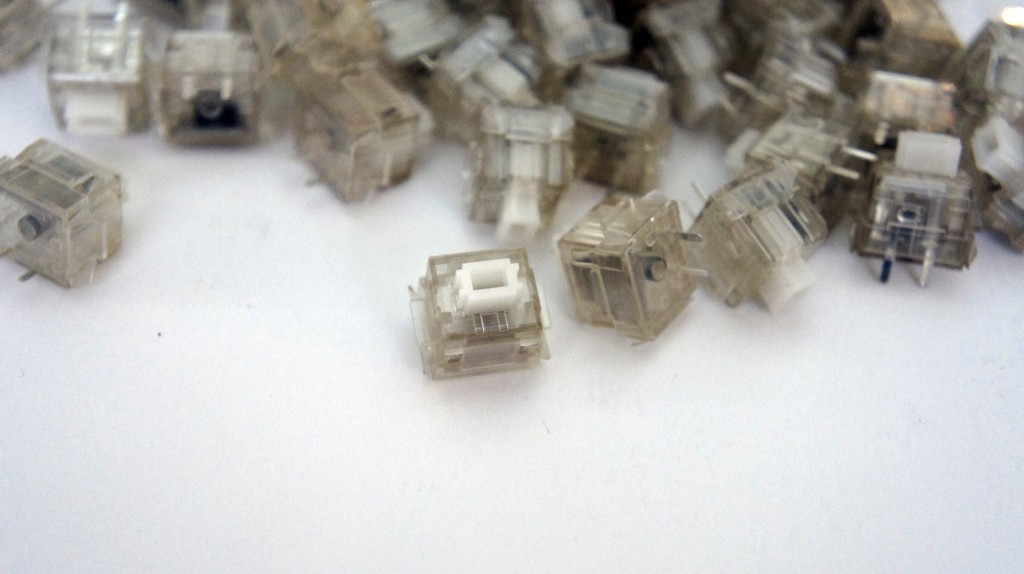
I ordered the kit with Matias Alps Clicky key switches, as I’m a huge fan of Cherry MX Green switches and thought the Alps switches might provide a similar but new experience.
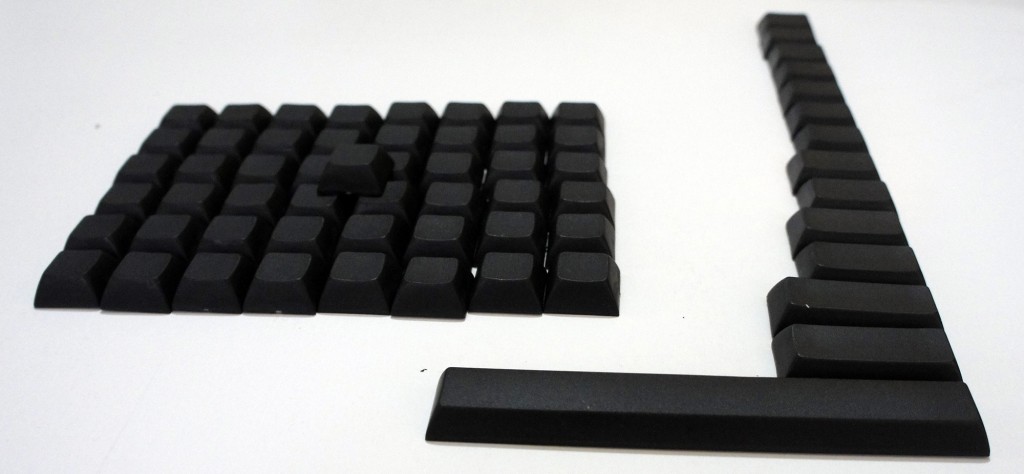
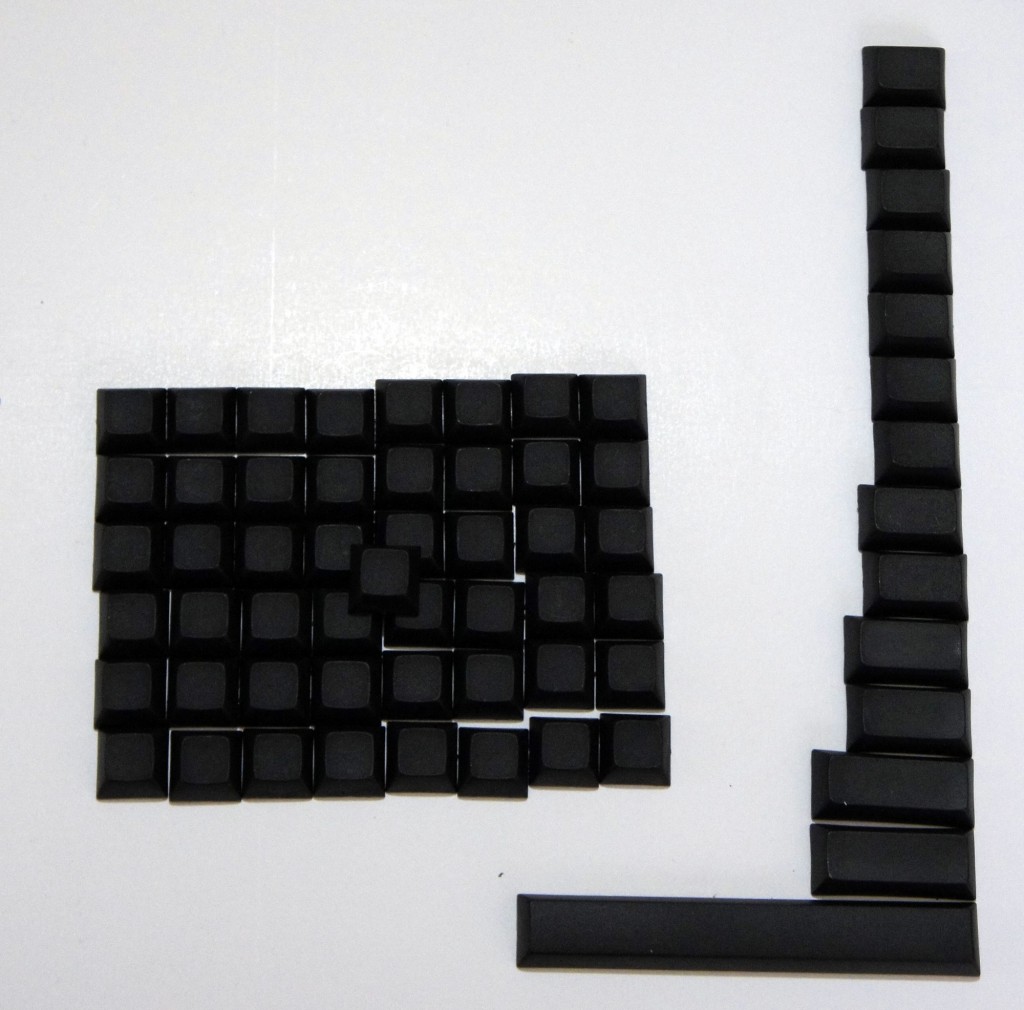
Next, I picked the blank Signature Plastics PBT keycaps available as an option on the Massdrop purchase, as finding Matias-compatible keycaps is not an easy task. Plus, the blank keycaps would come in handy when I started messing around with the keyboard configurations.
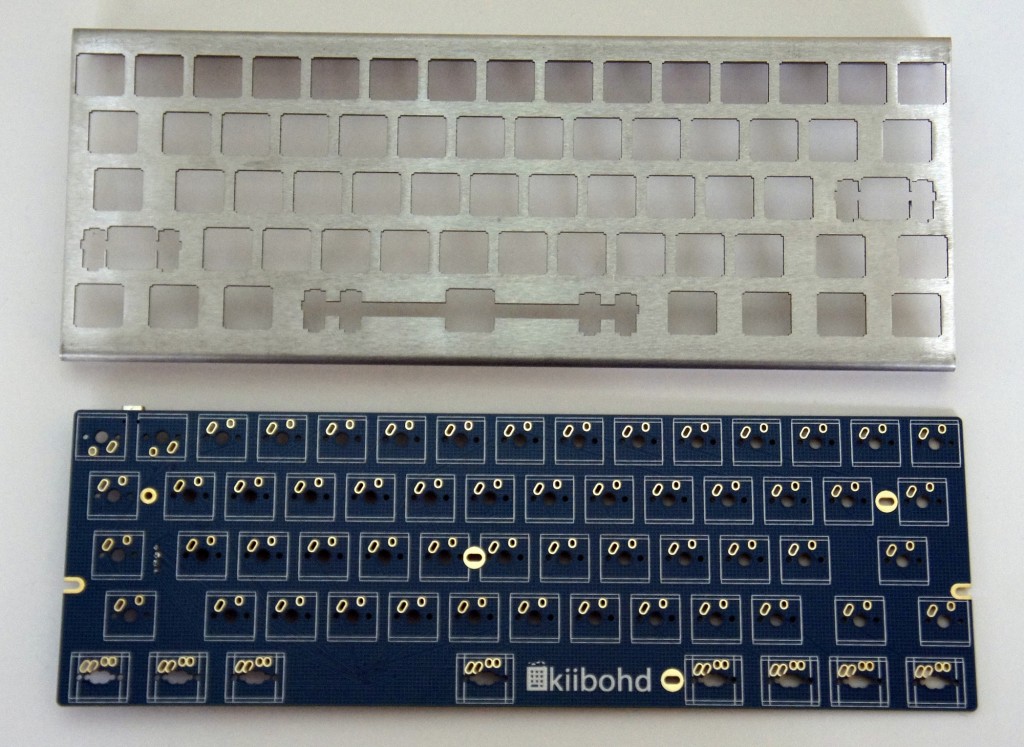
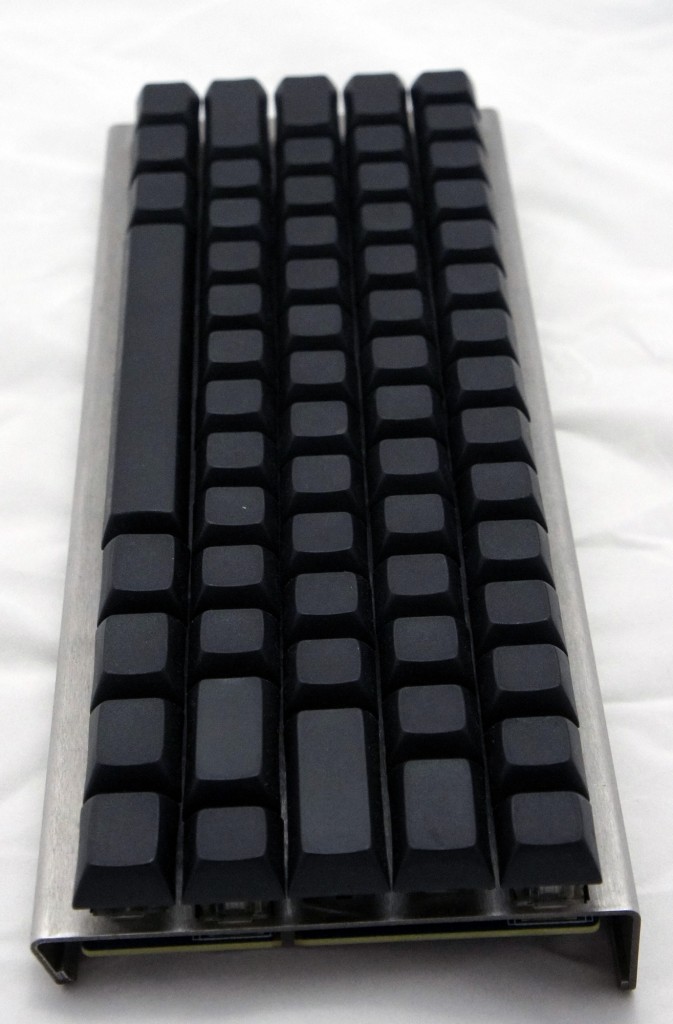
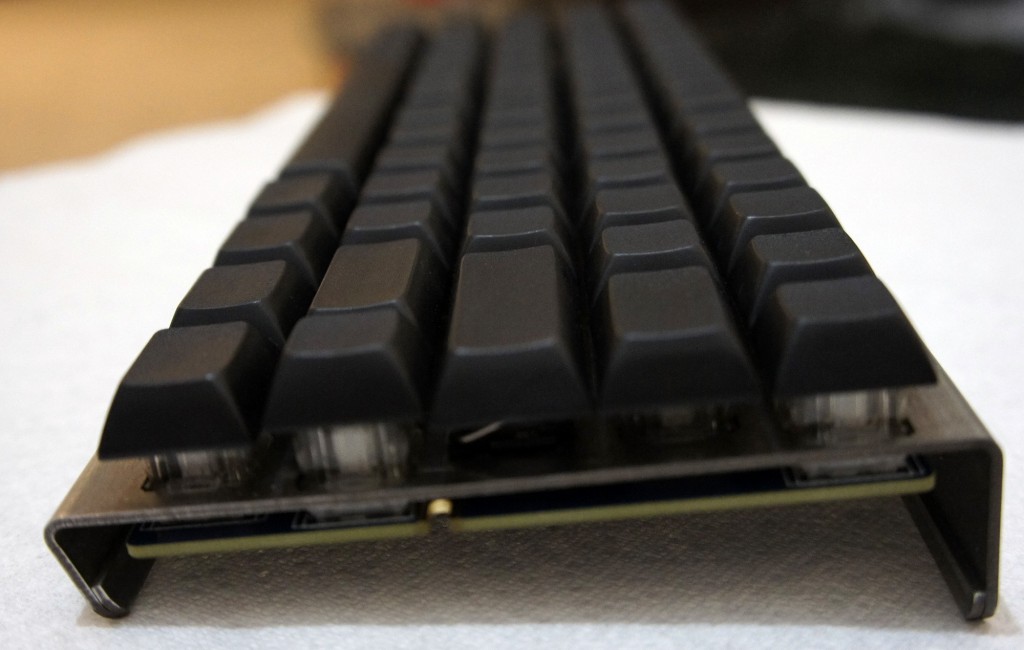
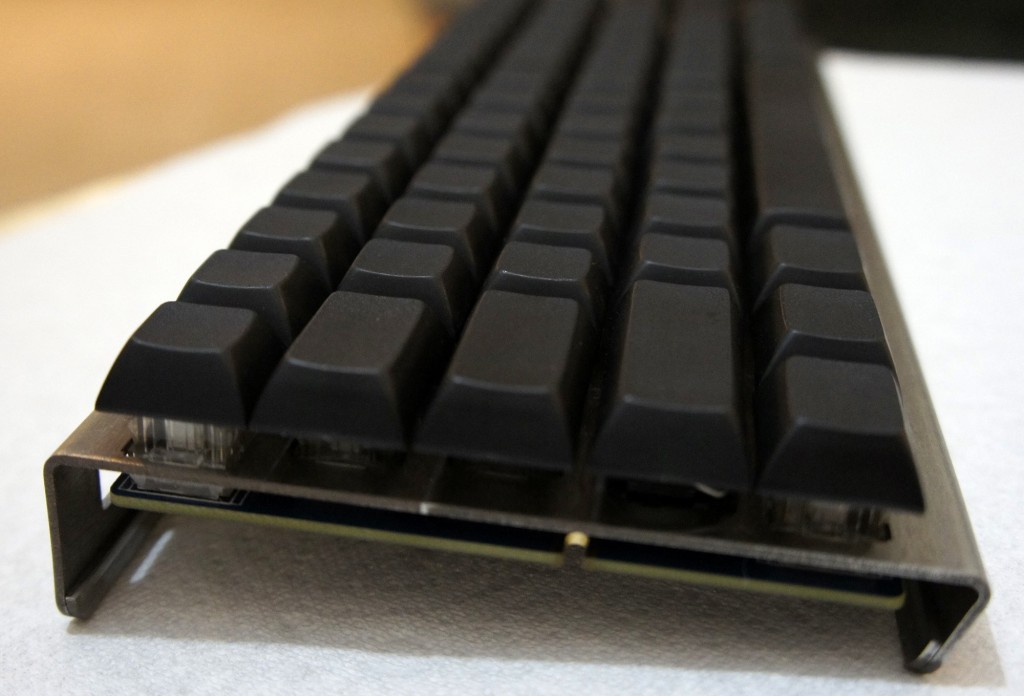
As for the chassis, I stuck with the purpose-built bent metal chassis, since it was designed for the Infinity Keyboard and has a nice industrial look to it.
Finally, the logic board used is a custom ‘kiibohd’ (get it? ‘kiibohd’ sounds like a British person saying ‘keyboard’, hilarious), designed to fit both Cherry and Matias Alps switches.
Getting Started
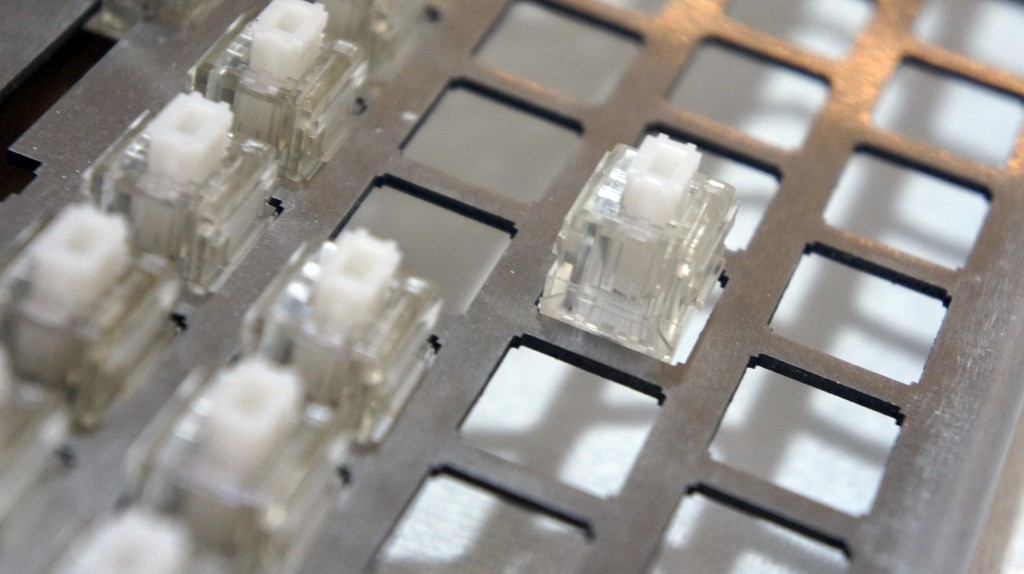
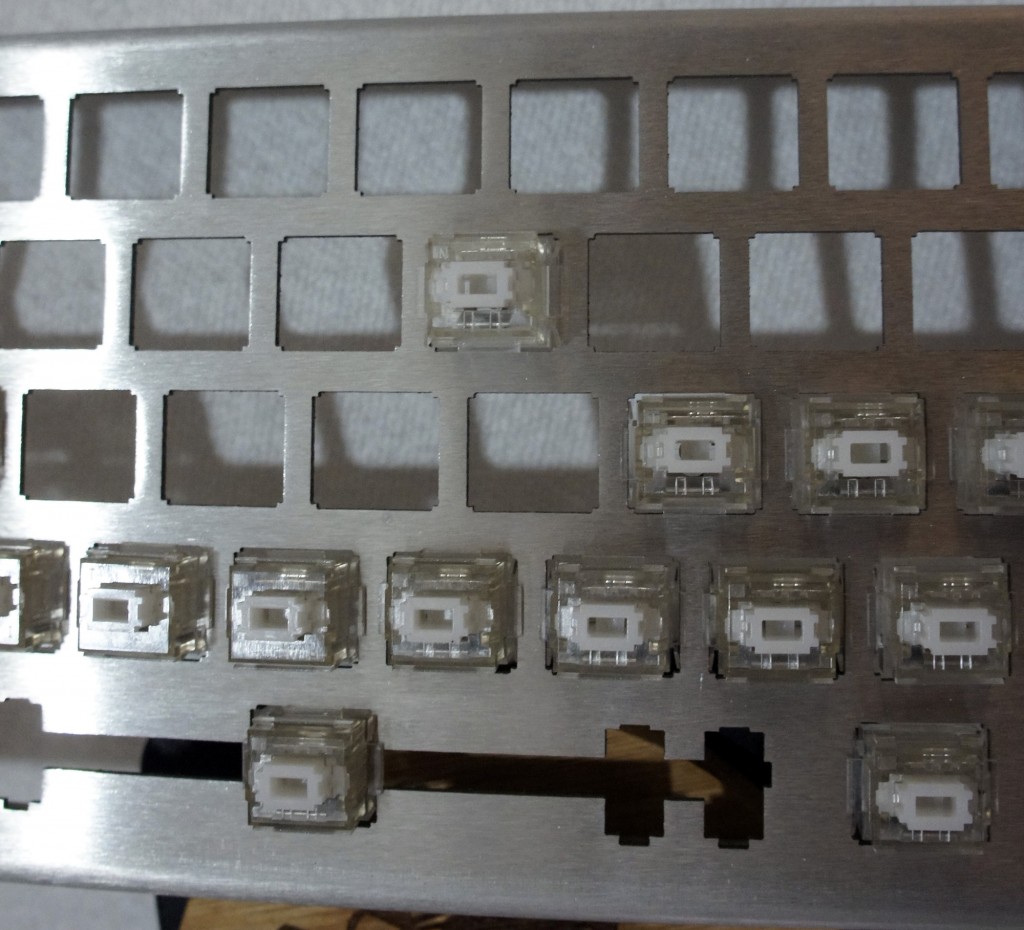
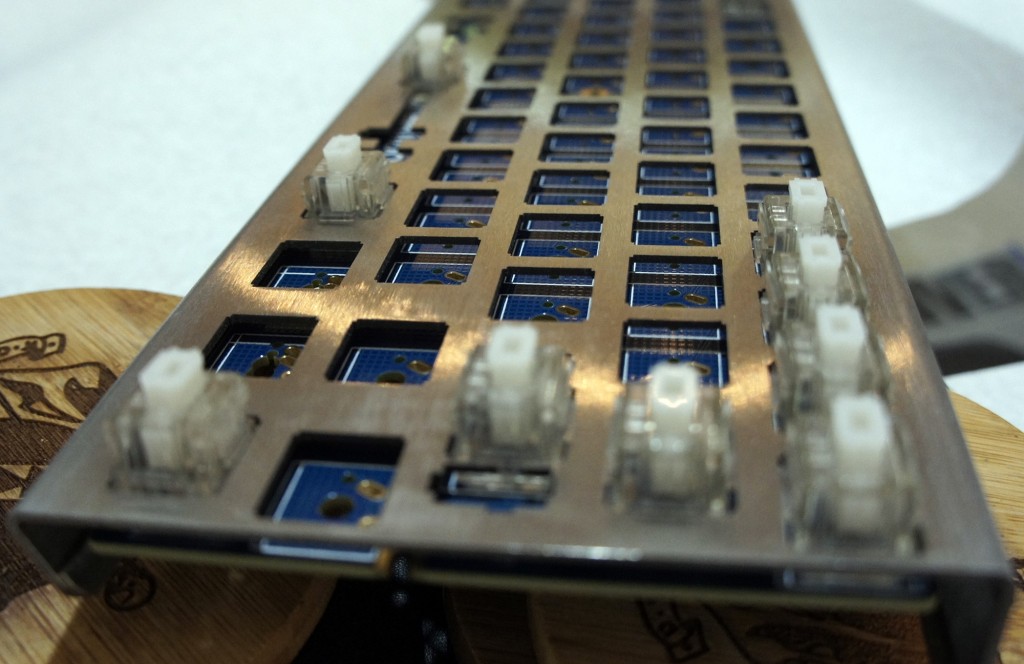
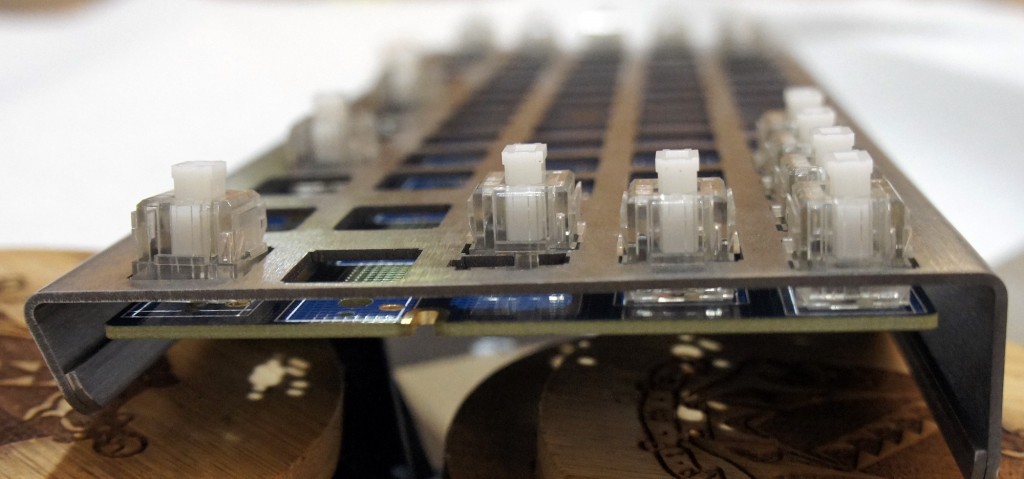
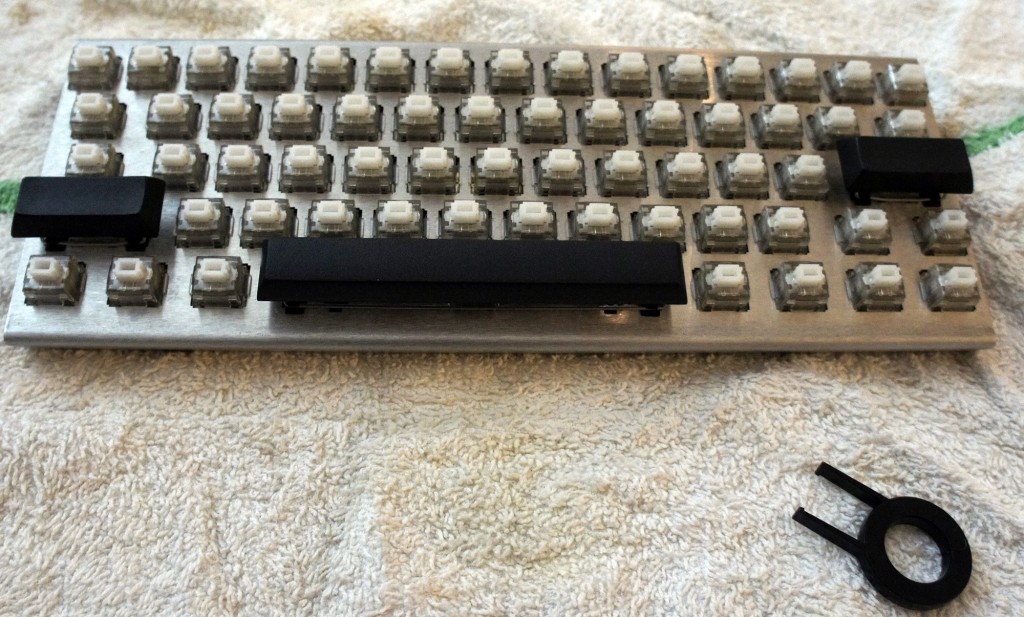
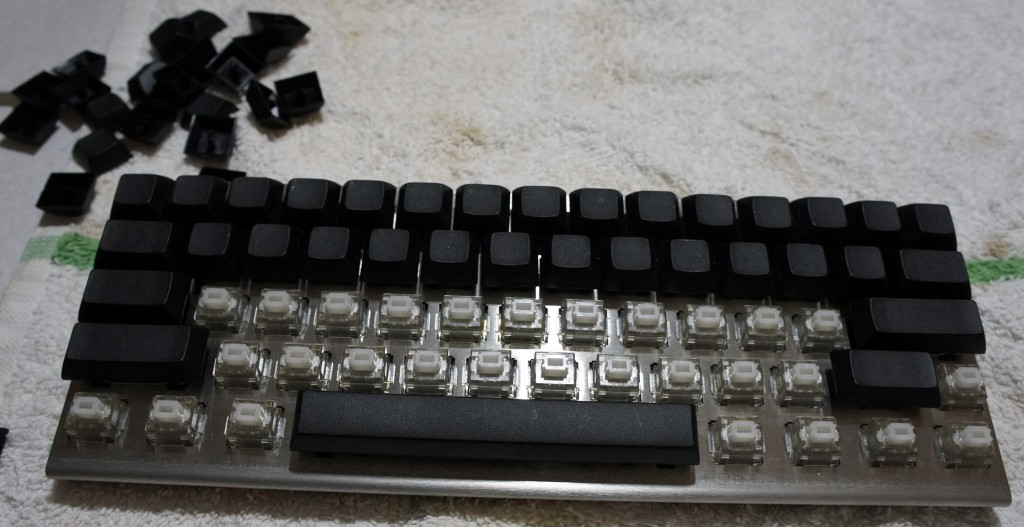
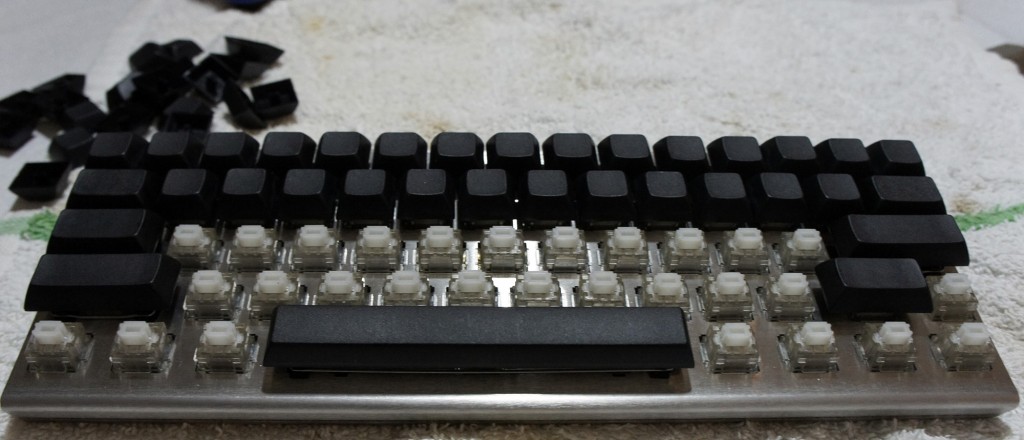
The process began with me putting the switches into the chassis. They went in from the top side of the keyboard, and the switches had to be pushed in until the little wings on the sides of the switches popped out on the bottom side of the keyboard. I could tell when they were in place because the plastic stoppers were flush against the metal of the chassis.
I made the silly mistake of putting in all the switches prior to sticking the logic board on. Unfortunately, this meant that lining up all the holes would be impossible, so I took the advice of someone on the Massdrop discussion and popped out all the key switches until I only had a couple in each corner. This made it easy to line up and stick on the board.
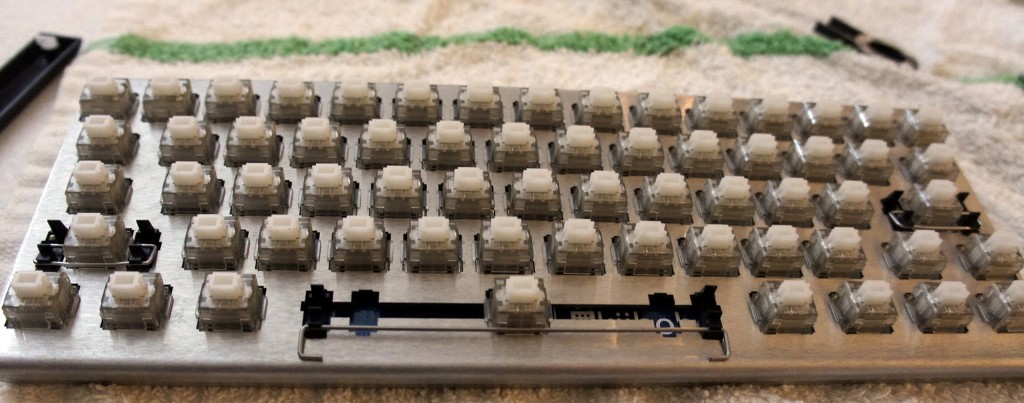
Once the board was in place, I began the process of sticking in the rest of the switches anew.
Soldering
The next step was soldering the switches to the board. This was probably the most daunting task to me, since I hadn’t soldered anything in approximately 10 years; the last time was in early high school, and I was hardly an expert back then.
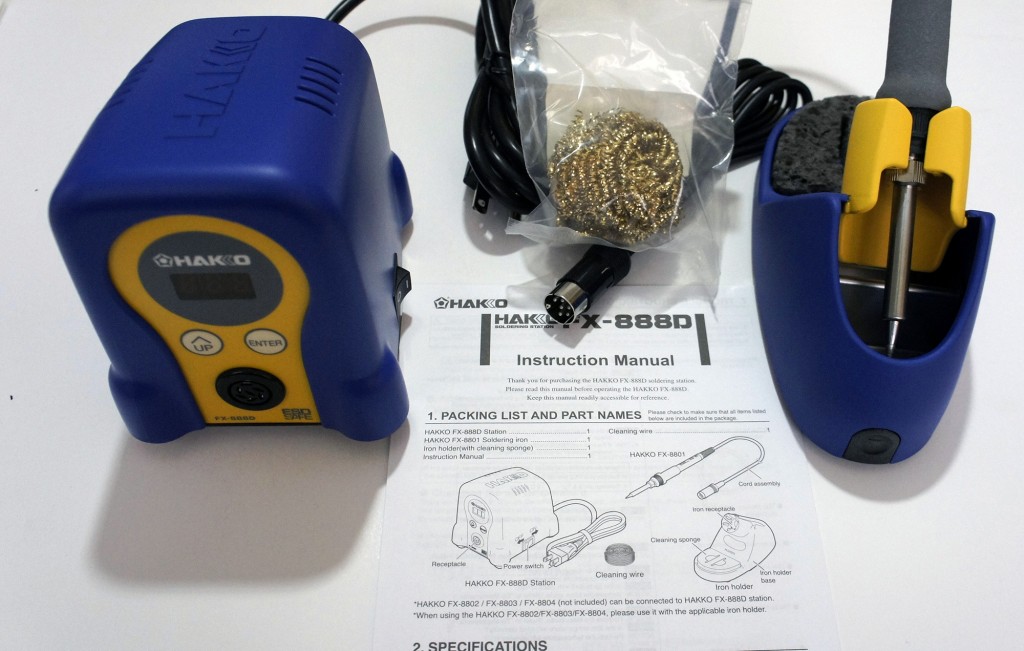
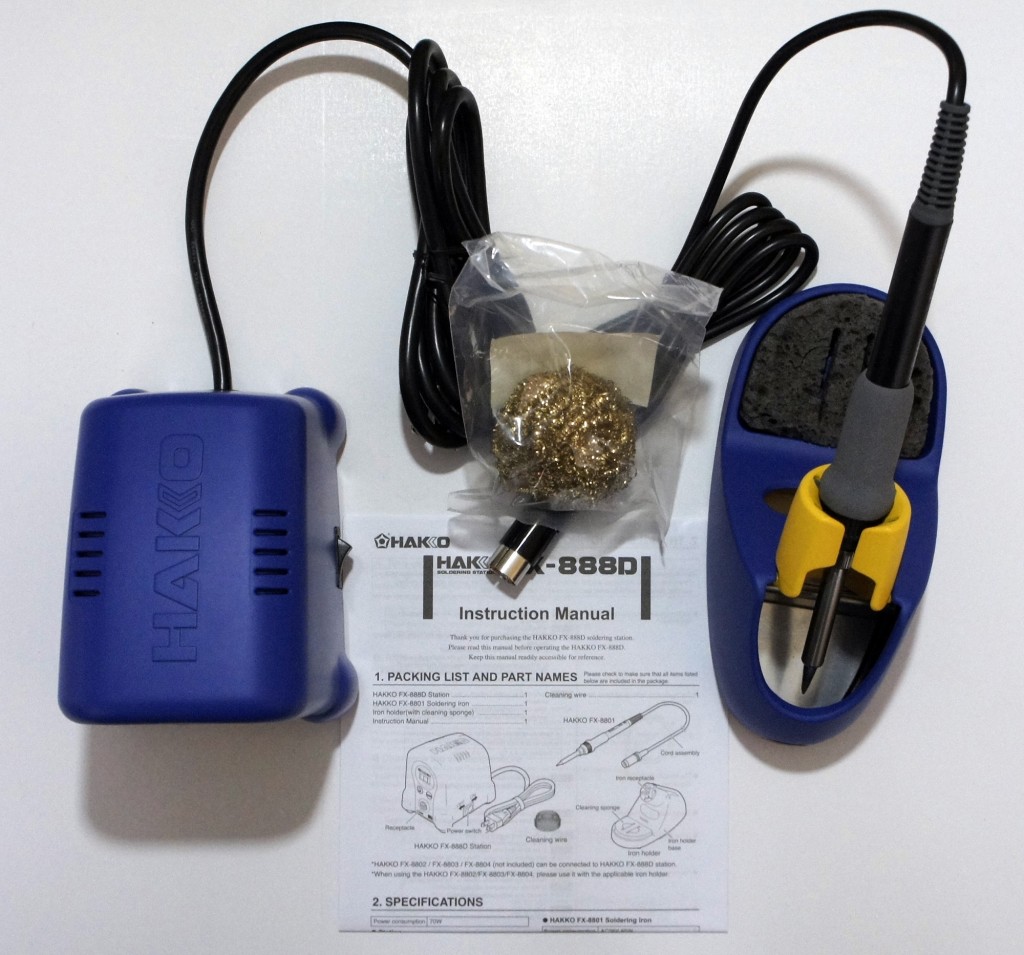
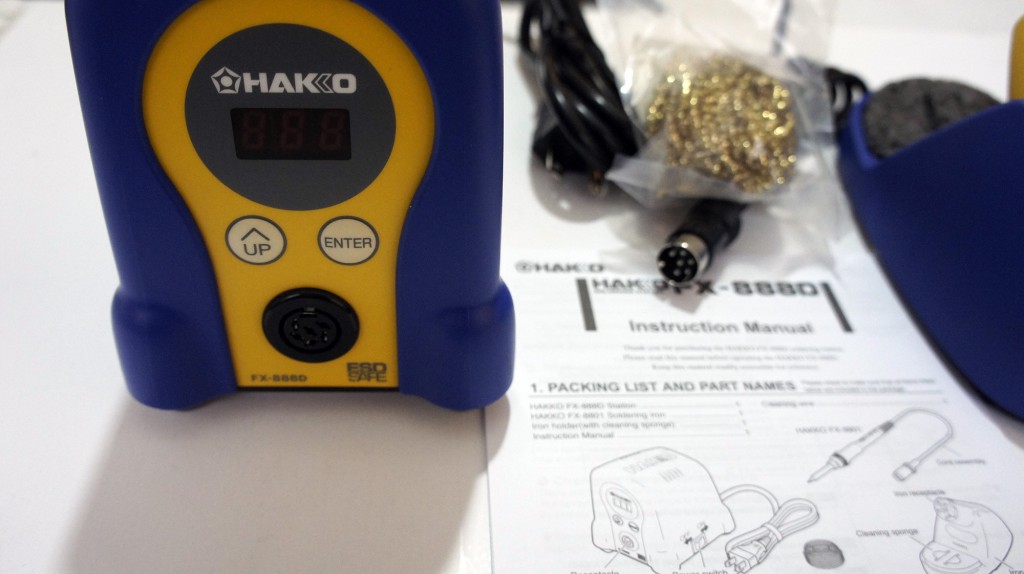
For my soldering kit, I picked up a Hakko FX-888D, since reviews for it are exceptional and a large portion of the internet seems to recommend it.
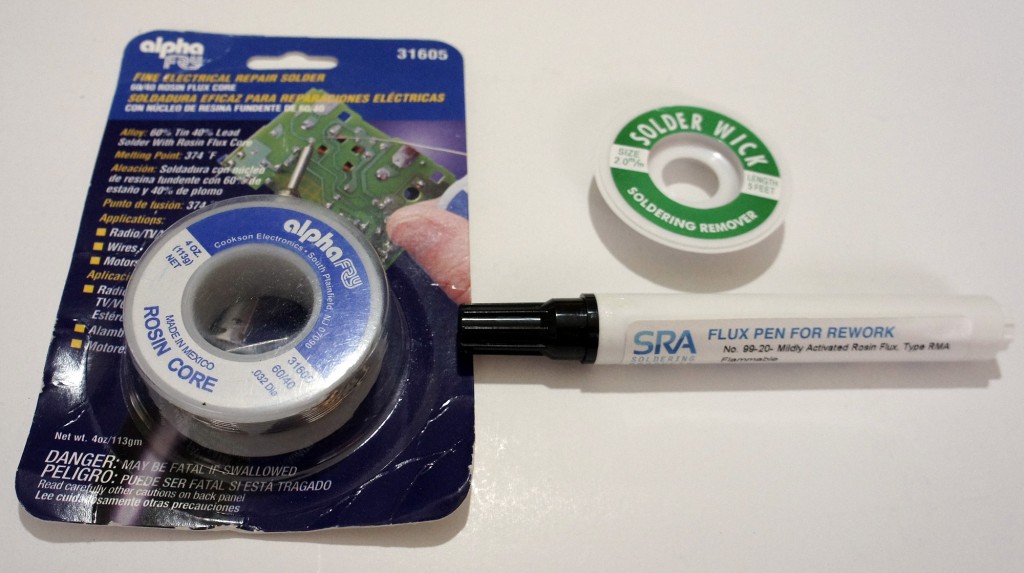
I also picked up some rosin-core solder, with the idea that it would be 60% lead and 40% tin, at the suggestion of my electrical engineer friend. However, despite the Amazon description, when it arrived it turned out to be 40% lead and 60% tin, but I figured I’d make do. I also picked up some solder wick and flux at my friend’s suggestion, since he assured me it’d make the process easier (it didn’t, I barely even used them).
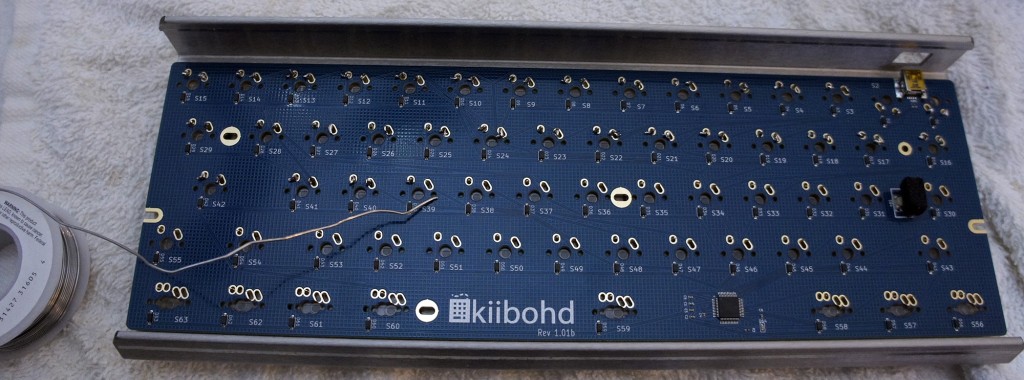
Wanting to be safe, I asked the same electrical engineer friend if some paper towels on a glass table would make for a good soldering station. He reminded me that paper towels are quite flammable, and suggested that I at least consider a slightly less flammable dish towel as a workstation. I listened to his advice and went with that.
Soldering was a surprisingly easy process. The Hakko FX-888D is a great soldering iron; I just dialed in the temperature I wanted and I was ready to go. For the purpose of the keyboard, I opted to use 500°F as the temperature.
Despite my inexperience and lack of skill, the soldering process went fairly quickly and smoothly. All I had to do was touch the iron to the spot I wanted to solder, touch the solder wire to it, and let it melt right onto the connectors as I pulled away the iron.
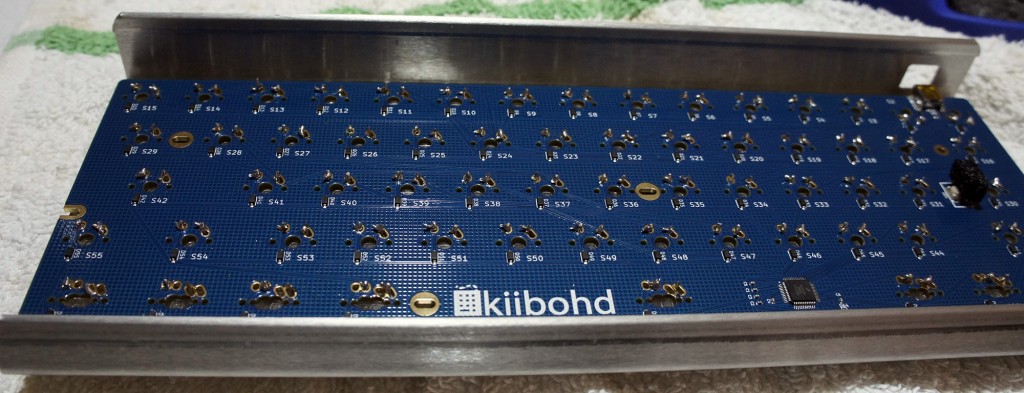
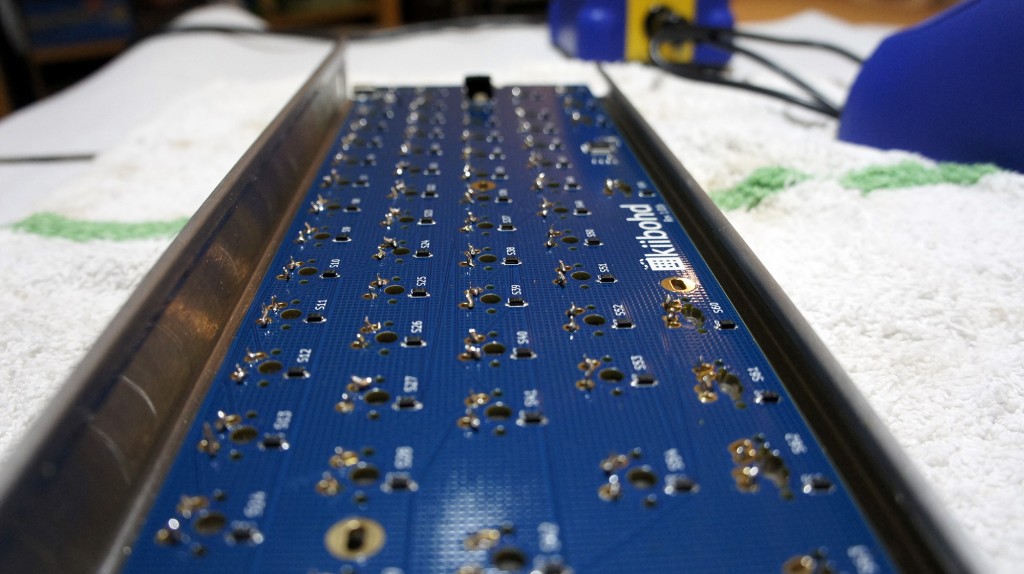
Once the soldering was done, I tested the keyboard to make sure all of the switches were reporting correctly. Each one worked perfectly, although my soldering job had much to be desired. Instead of nice, clean, smooth soldering, the back of the keyboard looks like a Terminator T1000 (the melty one) cried onto it. This made me regret choosing the open-backed chassis somewhat, since my soldering left the back of the keyboard sharp to the touch. I suppose I’ll just have to be careful when grabbing it.
Problems Arise
Next up was putting the keycaps onto the switches. Again taking the advice of the Massdrop discussion on the keyboard, I opted to start with the stabilized keys (spacebar, Enter key, etc).
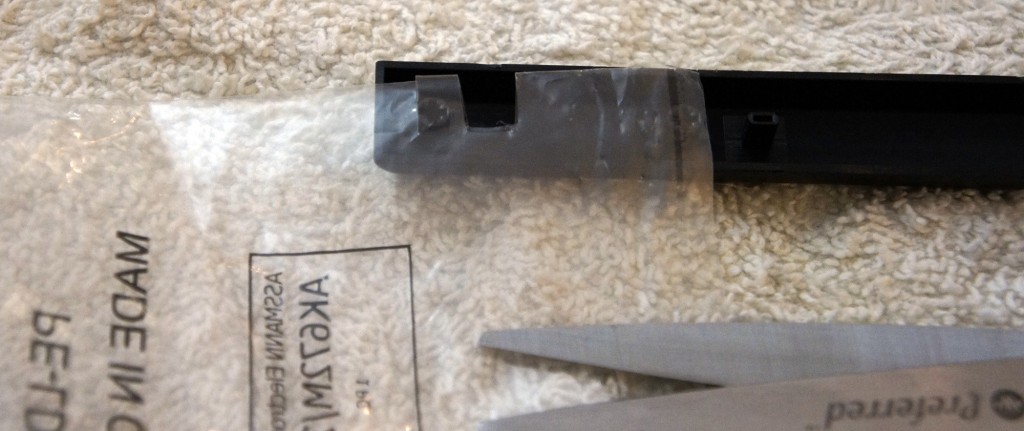
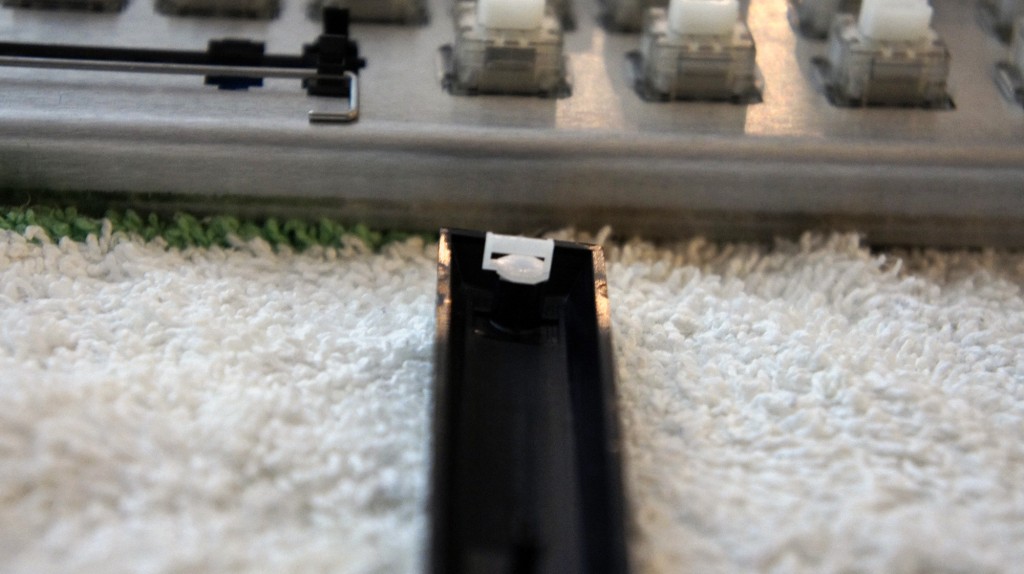
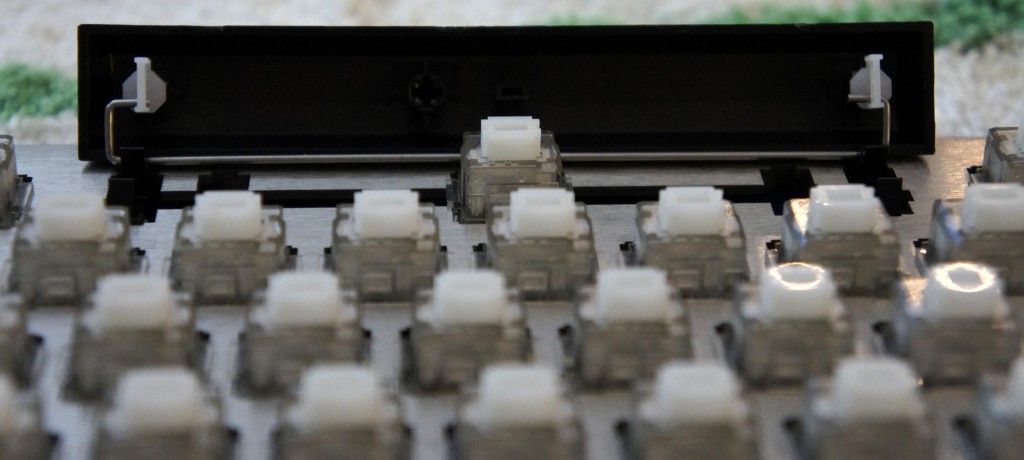
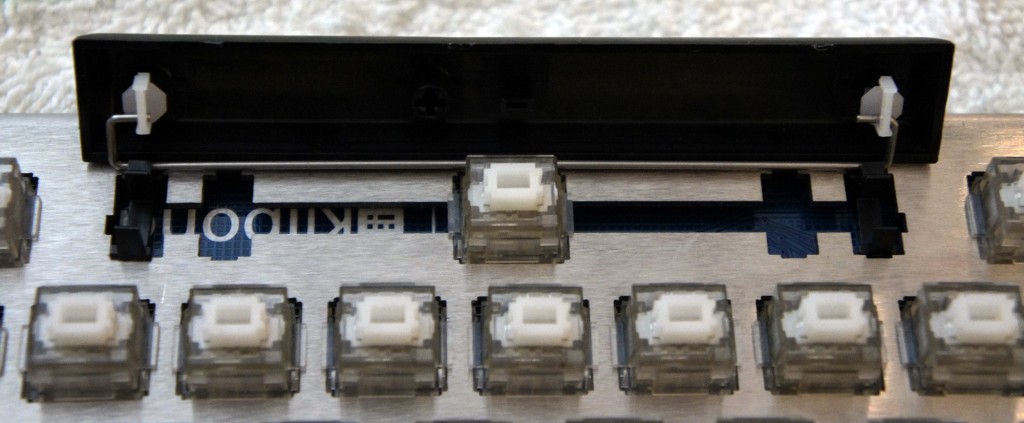
I noticed the stabilizers that attached to the keys felt fairly loose in their housing. Luckily someone online had the genius suggestion to cut tiny squares out of the plastic baggies the parts came in, and use them as a shim for the stabilizers.
This worked beautifully, and made the stabilizers sit tightly in their housing. Although something like super glue would probably work just as well, that’s a much more permanent solution, and the name of the game with the Infinity Keyboard is modularity.
However, while putting in the spacebar, I messed up a bit and got the stabilizing wire stuck under the stabilizers. I figured I would correct this mistake by pulling out the spacebar and fixing it.
Unfortunately for me, the Matias key stems are exceptionally tight, so it took an extraordinary amount of force the get the key out (My poor key-puller just gave up, and I had to use my fingers and a screwdriver to generate enough force to remove it).
However, once I got it out, I fixed the stabilizing wire and got back to work putting on the keycaps.
Once that was done, it meant I was done building my keyboard and it was ready to be used!
As you might expect by now, I had yet another unfortunate discovery when I began to type. All the keys worked well, except the spacebar would output anywhere between 1 to 10 spaces per keystroke.
At the suggestion of the Massdrop Infinity Keyboard discussion forum, it seemed like the best course of action would be to replace the key switch on the spacebar, as it had been speculated that maybe I damaged it when I removed the spacebar from it earlier.
Luckily for me, the keyboard kit included one extra key switch.
I figured the de-soldering process wouldn’t be much more difficult than the soldering process, but boy was I wrong.
The wick I had gotten barely soaked up any solder, and the solder was starting to get stuck in the holes in the logic board. As soon as I would melt it with my iron, it would solidify as soon as I started trying to push the switch out.
Eventually I pulled off enough solder to push the switch out, and replaced it with my backup switch. At this point I tested the keyboard with the new switch, and it worked flawlessly.
Now that I knew what I was doing, I was ready to put the spacebar onto the new switch and get typing.
However, nothing is that simple, and although I attached the spacebar without issue, the key tended to stick at the bottom of my keystrokes. This meant that I still ended up with unwanted spaces, although in some cases it meant I couldn’t hit the spacebar again when I wanted to.
At this point, I was out of extra key switches, and I knew that the force required when trying to remove the spacebar to try to diagnose the issue would cause the switch to break. I contacted Massdrop customer support to get some replacement switches and, hopefully, some advice.
They recommended trying to expand the spacers on the stabilizers, but that didn’t work. It also didn’t help that the spacebar appeared to be making contact with the keys directly above it and seemed somewhat out of alignment along the bottom.
I figured that maybe the spacebar was upside down, though the instructions never made mention of an ‘up’ and ‘down’ on the spacebar. Then again, the instructions were about as specific and helpful as a car-building manual comprised of useful steps along the lines of “get engine, put engine in car, apply wheels, finish car.”
Massdrop was kind enough to send me a free replacement key switch in preparation for the switch I was about to break. I also asked them send me a second backup switch in case I somehow managed to destroy the first backup, in case you are noticing a pattern here.
I removed the spacebar and switch using a soldering iron to loosen up the solder on the switch, pliers to pull the key switch out of the chassis, paperclips that were bent out of shape to pull on the spacebar, and my own tears of frustration. The tears were mostly a side effect, though I suppose they might have added some extra lubrication to the whole endeavor.
Once that was done, I put the new switch in the chassis, and plugged the keyboard in to test it and make sure everything worked properly.
After I was satisfied that the switch was fully functional, it was time to put in the spacebar.
I made sure the spacebar was flipped from the orientation it was in before (upside-down presumably). I attached the stabilizing wire to the stabilizers on the spacebar, and pushed it into place on the key switch.
To my dismay, the spacebar stuck at the bottom of the key press.
I immediately felt sheer terror at the nightmarish thought of having to remove the spacebar and key switch yet again.
In an act of desperation, I took a flathead screwdriver and pushed the one of the spacers out, certain it wouldn’t work.
To my amazement, the spacebar now moved freely.
Feeling like Thomas Edison probably felt when he pretended that he invented the lightbulb, I plugged the keyboard in to test each key.
My feeling of elation was quickly quashed as the “1” key didn’t seem to register key presses. The fear of having to replace a key switch was back almost as soon as it had gone. Feeling like I had eaten some bad Indian food, the sensation of fear in my gut returned as quickly as it had faded.
It looked like the soldering on the switch seemed ok, but given my complete ineptitude when it came to soldering, I figured I would melt it down a bit more to make absolutely certain it was making contact with the board.
A few seconds later, I plugged the keyboard back in, and finally everything worked properly.
I knew at the time that I should be feeling pride and joy for having completed my project successfully, but one singular thought consumed my mind: “never again”.
Conclusion
I got the Infinity Keyboard kit at a price of $157 after tax and shipping, with the intention to use it as a learning opportunity as well as benefit from having a rather unique 60% keyboard.
(A brief aside – keyboards tend to come in a few different sizes, most commonly: Standard, which includes all the typical keys, Tenkeyless [TKL], which excludes the number pad, and 60%, which excludes the number pad, arrow keys, and Home/Insert/Page Up/etc. keys.)
I certainly got my money’s worth as far as learning experience goes, though I was hoping the process would have been a bit more painless (emotionally and physically). I ended up with a fairly unique keyboard though, which I’m sure will impress all the people I know. It’s a known fact that nothing impresses people more than a keyboard.
At least the next time I build a keyboard (never), I’ll know what I’m doing. Also, as far as the key configuration goes, I have the option to compile my own firmware (as a software developer, this option disgusts me), use the default (as an enthusiast, this option disgusts me), or use the new Infinity configurator (as a lazy person, this option disgusts me). Oh well. I guess into the closet it goes.
5 Video Game Remasters We Actually Want
I don’t think I’m the only one annoyed by what seems like a new video game remaster being announced each week. ‘Remasters,’ ‘Collections,’ ‘Definitive Editions’, or whatever term publishers are coming up with to trick people into buying old games, have been flooding the market lately and more will inevitably be announced shortly.
Perhaps the most disappointing aspect of these remasters is that most of them haven’t been adding any sort of real value aside from simply upping the game’s resolution and/or framerate. Take the most recently released remaster, Dark Souls II: Scholar of the First Sin, for example. The game is a 1080p and 60fps version of Dark Souls II, complete with all three DLC packs from the game. That’s about it.
Sure, the Scholar of the First Sin increased the maximum amount of players in an online game from four to six and changed enemy spawn locations, but is that really enough to justify purchasing the game again if you already own it?
I know that there is some overlap here for gamers who missed out on playing certain games when they were released the first time around. However, the number of potential buyers who have never played the remaster is obviously much smaller when compared to the number before the release of the original game. Despite all of this, these kind of games must be selling well because, well, they keep on being made.
Does anyone remember in the early days of the PS4 and Xbox One, where if you owned a game like Battlefield 4 on PS3 or Xbox 360, you could upgrade to the PS4/Xbox One versions for as low as $10 for a limited time? That is essentially what you are getting now, a PS4/Xbox One version of the same game, except, in most cases, you are paying the full $60 price of a video game.
Fortunately, a few developers actually understand how to do a remaster right and actually give you the best bang for your buck.
Rockstar added the highly anticipated first-person mode to the PC, PS4, and Xbox One versions of Grand Theft Auto V, as well as some new missions, weapons, and vehicles.
State of Decay developer, Undead Labs, is offering a 33% discount on the purchase of State of Decay: Year-One Survival Edition to those who already own a copy of State of Decay on Xbox 360 or PC. The PC version of the recent Sleeping Dogs remaster is also worth mentioning, as the Definitive Edition on PC was only $30, or $15 if you owned the original game. Xbox One and PS4 versions were still $60, though.
Networking issues aside, the Master Chief Collection on Xbox One is the perfect example of a remaster done right. Not only could you play Halo: Combat Evolved on Xbox Live for the first time ever (when you could actually get matchmaking to work), but Halo 2 received the full “Anniversary” treatment as well.
Like the Halo: Combat Evolved Anniversary Edition which came out in 2011 for Xbox 360, the Master Chief Collection version of Halo 2 received a dramatic facelift. The resolution and framerate were bumped to 1080p and 60fps respectively, and every cutscene from the original Halo 2 was remastered and given stunning new cinematics by Blur Studio. There were also new hidden collectibles to find that dove deeper into the Halo lore in preparation for Halo 5. Additionally, six of Halo 2’s multiplayer maps were re-made entirely on the Xbox One engine by Max Hoberman (former lead designer at Bungie) and his current studio, Certain Affinity.
Combined, all of these features easily give you enough value to justify the full $60 retail price of the game. Oh, and let’s not forget that the Master Chief Collection also included remasters of Halo:CE, Halo 3, and Halo 4, as well as exclusive access to the Halo 5 beta.
All of these remasters have gotten me thinking of the games I would like to see re-made to play on current generation consoles, in a fashion similar to the Master Chief Collection. By re-made, I mean updated graphics, remastered cutscenes, and other unique features that would help warrant a purchase. I’m going to take the easy way out and imagine we’re in a perfect world where cost and development time on actual game projects would not be affected by creating these remasters.
Hot on the heels of the rumored Batman Arkham series collection, here are my top five choices for remasters that we gamers deserve and need right now:
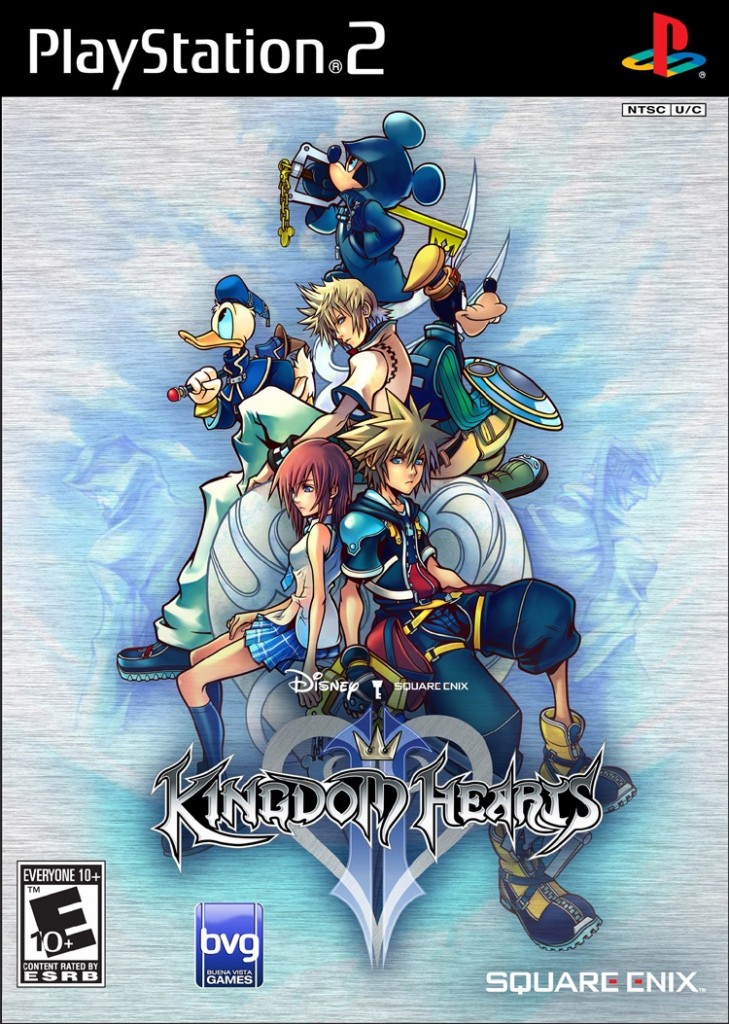
1) Kingdom Hearts Collection – Kingdom Hearts 1.5 & 2.5 (Xbox One, PS4)
Few video games serve the purpose of uniting our inner child with our inner nerd better than Kingdom Hearts does. With Kingdom Hearts III now in development, a complete Kingdom Hearts collection released in the near future would serve the purpose of providing a refresher on the story (which spans a total of 7 games – 2 on consoles, 5 on handhelds), while attracting new gamers to the series, which originally launched in 2002.
Having all seven games in one place, with remastered graphics and cutscenes, would be a hard deal to pass up. Additionally, an Xbox One version released ahead of the Kingdom Hearts III launch (release date to be announced) would mark the first time a Kingdom Hearts game could be purchased for Xbox and would surely sell well. Interestingly enough, Kingdom Hearts 2.5 was just released on PS3 only in December 2014. Could a complete collection on PS4 and Xbox One follow soon after?
2) Marvel’s: Raven Collection – X-men Legends, X-men Legends II: Rise of Apocalypse, Marvel: Ultimate Alliance 1, & Marvel: Ultimate Alliance 2 (PC, Xbox One, PS4)
One of my favorite developers from the early 2000’s, Raven Software made a name for itself with the awesomely fun Star Wars Jedi Knight games. From there, Raven hit their stride with the X-men Legend and Ultimate Alliance games; top-down multiplayer action RPG’s. Diverse and expansive character rosters, combined with interesting stories and enjoyable gameplay, helped cement the series as a must-buy among Marvel fans and gamers alike.
Aside from Marvel Heroes and Lego Marvel, Marvel has been lacking in the video game department for years. Alternatively, DC has had bigger hits recently like Injustice: Gods Among Us and DC Universe Online. Throw together a collection of remastered versions of Raven's Marvel games, with some new exclusive characters and costumes added to the rosters, release it around the same time of the next big Marvel movie, and you might as well be printing money.
P.S. Before you start throwing things at me, the only reason why a Jedi Knight game didn’t make my list is because I already picked a different Star Wars series below. Also, I know Ultimate Alliance 2 sucked; I just threw it in the Raven Collection for completeness. You don’t have to play it if you don’t want to.
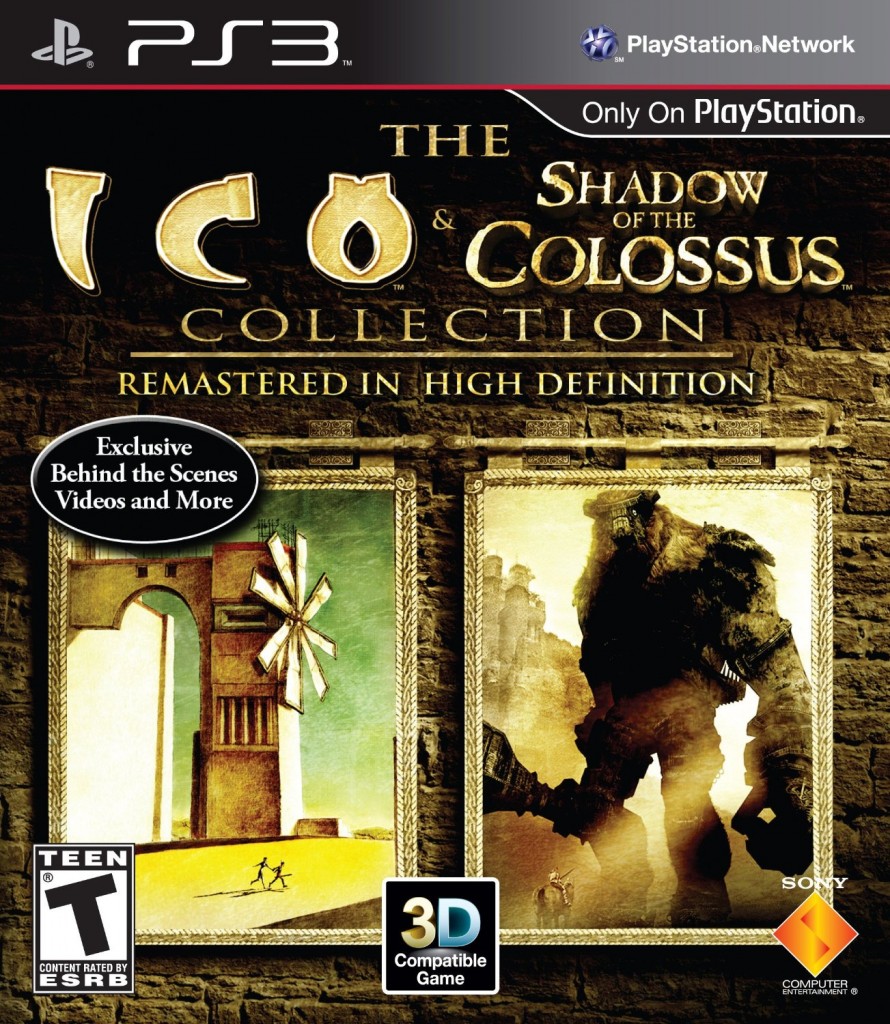
3) Team ICO Collection: Ico & Shadow of the Colossus (PS4)
Arguably two of the best adventure games of all time, Ico and Shadow of the Colossus are cult classics from the PS2 era. Even to this day, I don’t think I’ve come across another game that I thought was as gorgeous and atmospheric as Shadow of the Colossus was when I played it for the first time.
Now I know this collection has been done before, as evidenced by the box art above, but that was simply an HD remaster.
Ico looked great and Shadow of the Colossus pushed the PS2 to its technical limits when it came out a few years later. Can you imagine what these games would look like if they were completely remastered on a PS4 engine? I can’t. The thought of it is too beautiful.
Revealing the Team ICO Collection at this year’s E3 for a Holiday 2015 release would help strengthen the PS4’s weak remaining 2015 lineup, especially considering that Uncharted 4 has been pushed back to 2016. Hopefully Team ICO would be kind enough to add in some new developer diaries for The Last Guardian as a bonus feature in the Collection, which would help to ease fans concerns over the game’s prolonged development.
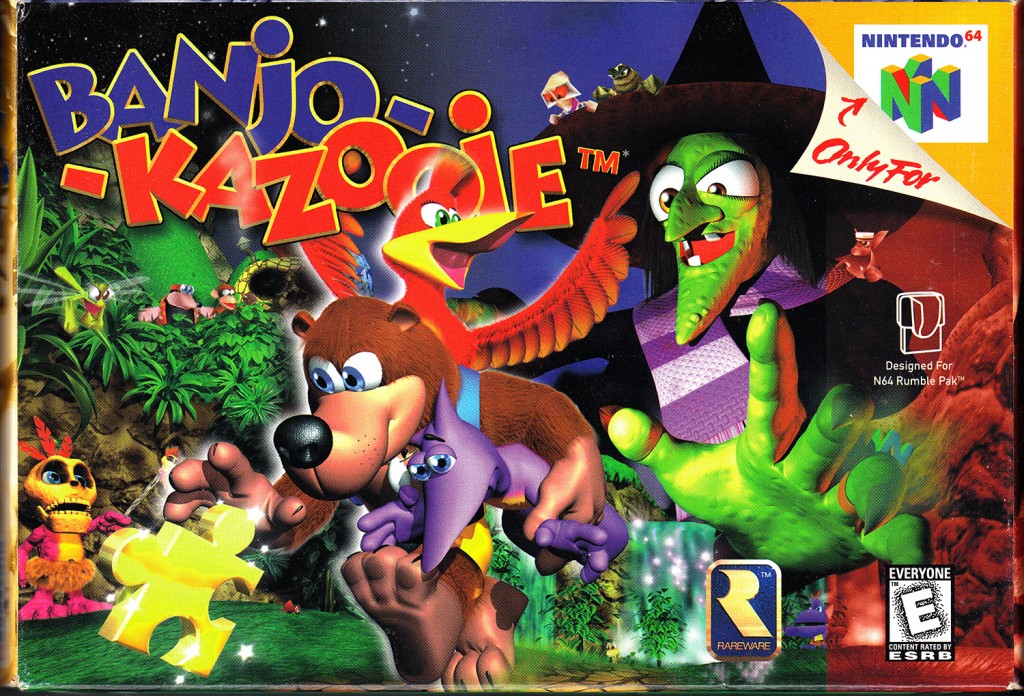
4) Banjo-Kazooie Collection: Banjo-Kazooie, Banjo-Tooie, and Banjo-Kazooie: Nuts and Bolts (Xbox One)
“Guh-huh!” It’s been almost 7 years since everyone’s favorite bear-with-a-bird-in-his backpack graced our consoles with his presence. It’s been even longer since he was actually in games as awesome as Banjo-Kazooie and Banjo-Tooie were. Nuts and Bolts was just okay, but it was missing a lot of the heart and sense of adventure that made the first two Banjo installments great.
Remastering the Banjo games for the Xbox One would then pave the way for a brand new Banjo-Kazooie titles to launch down the road. This would be a welcome addition to the Xbox One library of exclusives, which is primarily comprised of relatively dark games with lots of shooting at the moment.
Recently, when Phil Spencer, Microsoft’s Head o’ Xbox, was asked about the possibility of Banjo being voted into Super Smash Brothers for Wii U, he had this to say: “I think it would be cool if Banjo was in the next SSB DLC. We've worked with Nintendo on Rare IP before, no issues.” If, by some miracle, Banjo gets enough votes to make it into Smash as DLC, it would be a huge win for Xbox. They would be dumb not to capitalize on that success by having new Banjo games available to play.
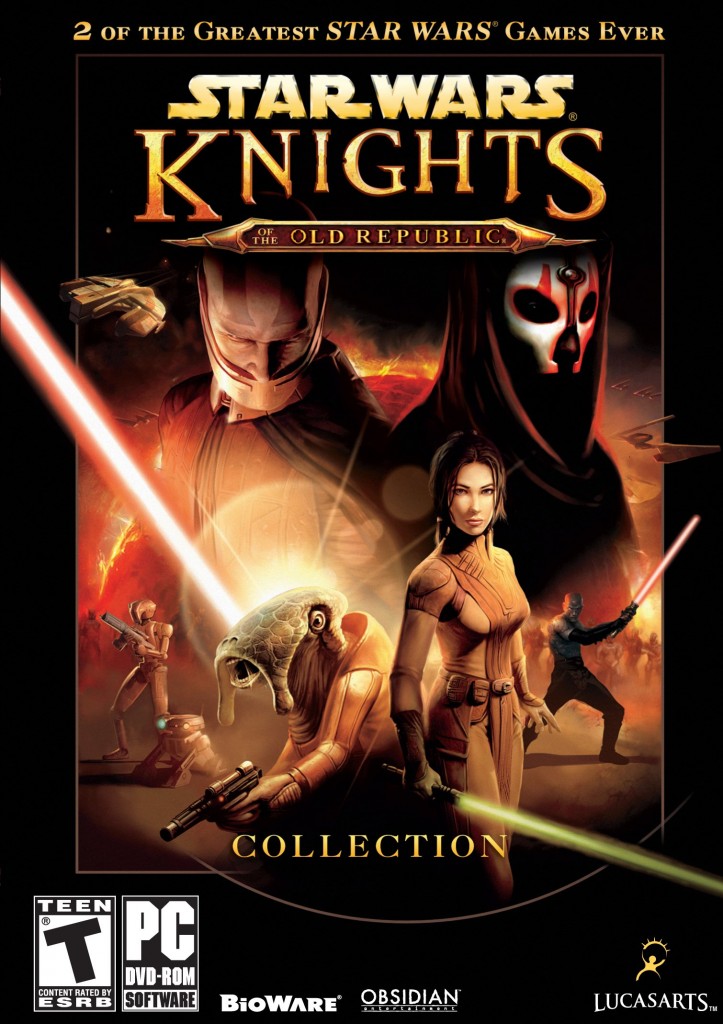
5) Star Wars: Knights of the Old Republic 1 & 2 (PC, Xbox One, PS4)
Star Wars: Knights of the Old Republic (KOTOR) was one of the first RPG’s that I ever played. The game boasted a great story filled with twists and a memorable cast of characters and companions alike. Who could forget HK-47 in all of his meatbag hating glory?
KOTOR made a lasting impression on me due to the fact that my decisions actually had an impact on the outcome of the game’s story. I could be the Jedi that I wanted to be, which felt pretty damn cool, especially when you got to build your own lightsaber and explore the galaxy in the Ebon Hawk, the precursor to the Millennium Falcon.
I know I’m not alone when I say that a remastered version of KOTOR 1 & 2 would be my top choice out of all of the games on this list. Now I don’t want to say this remaster will never happen, because I never deal in absolutes. That being said, this remaster will probably never happen. We would certainly be more likely to see a Mass Effect Trilogy remaster (“The Shepard Collection”?) before a KOTOR remaster, but then again, you’re never supposed to tell me the odds.
Well, there you have it. The top 5 video game remasters I would willingly buy and play. Do you agree or disagree with my choices? What video games would you like to see remastered? Be sure to let us know by leaving a comment below or on our Facebook and Twitter!
